Open topic with navigation
User Defined Fields and User Defined Options Example
This topic provides an example of set up for both User Defined Fields (UDF) and User Defined Options (UDO), as they work together.
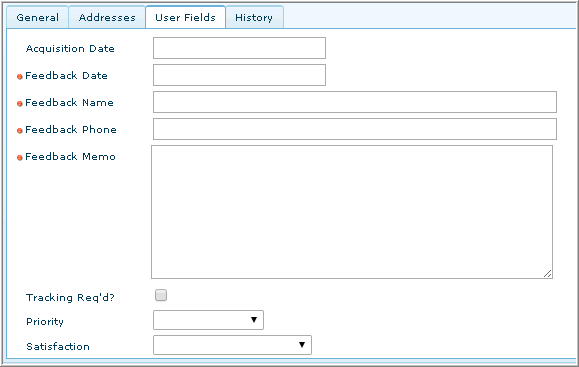
In this example, we are creating a set of User Defined Fields for the Item, Customers. The fields chosen in User Defined Fields Setup appear on the new User Fields tab for Customers.
This image shows how this User Fields page in Customers will look after it is set up.
Task 1: User Defined Fields Setup
The User Defined Fields for Customer are set up as follows:
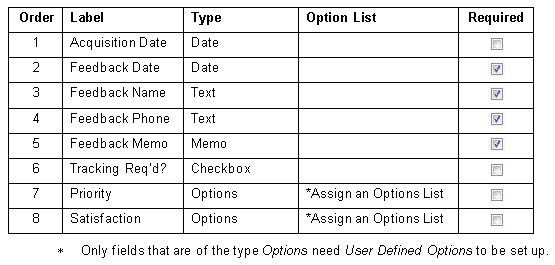
In the above example, we need to select Options Lists for two Labels, Priority and Satisfaction.
- If the Options Lists that you want to use don’t exist already, leave the Option List field blank, and create new Option Lists in User Defined Options Setup.
- Then go back to User Defined Fields Setup and select the appropriate list for the fields of the Type, Options.
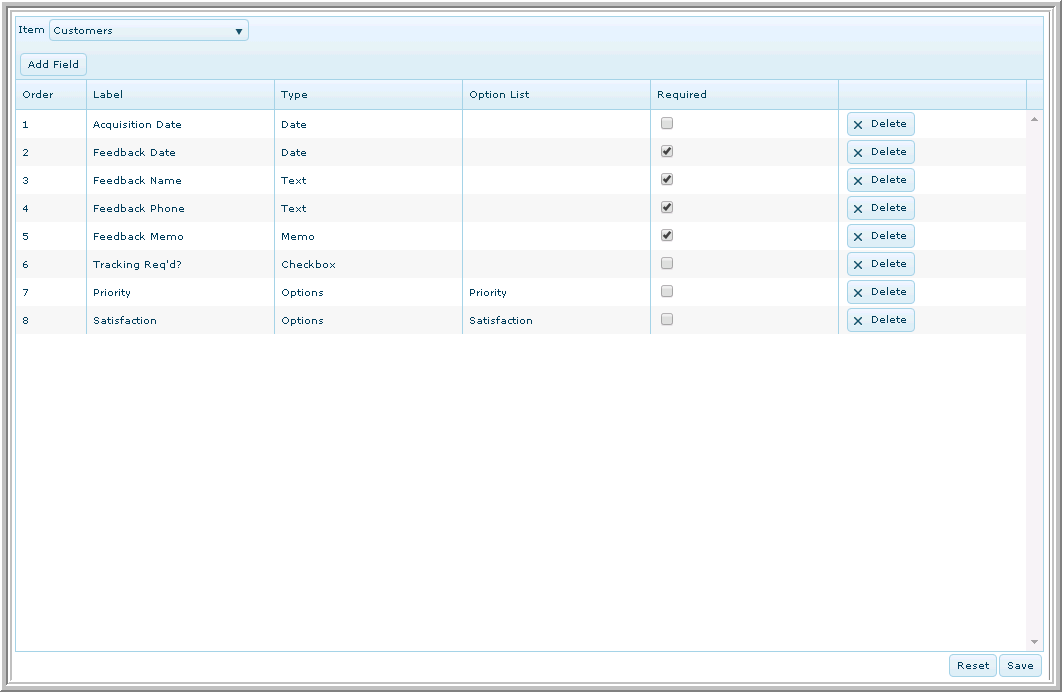
When finished setting up the User Defined Fields, the form in User Defined Fields looks like this.
Task 2: User Defined Options Setup
Continuing this example, next we create an Options List called “Priority” and another called “Satisfaction.”
Create a new Option List named Priority with the following values:
1 - Emergency
2 - Standard
3 - Low Priority
Create a new Option List named Satisfaction with the following values:
1 - Highest Satisfaction
2 - Very Satisfied
3 - Satisfied
4 - Dissatisfied
When finished setting up the User Defined Options for Priority, the form in User Defined Options looks like this. The first image with the red triangles is before the list of values has been saved. The second image is how the image appears after the list of values has been saved.

See Also
eFinancials
Setup Introduction
ePO Setup Introduction